Facilitate Mitsuba2 with Open3D
Mitsuba2 is a versatile yet neat physically-based rendering system. By providing camera matrices, users can easily render high quality images. The question is how to obtain proper viewpoints for a 3D model.
A workflow is to jointly use it with Open3D that generates non-physically based rendering.
Capture view point
Using the snippet
import open3d as o3d
mesh = o3d.io.read_triangle_mesh('/path/to/mesh.ply')
mesh.compute_triangle_normals()
o3d.visualization.draw_geometries([mesh])
an interactive window will pop up. Move your mouse until you find a good view point, then press ‘P’. Open3D will take a decent screenshot
 along with a json file in the shape of
{
	"class_name" : "PinholeCameraParameters",
	"extrinsic" :
	[
		0.8390546152869085,
		0.54133390210883348,
		0.054267476386522975,
		0.0,
		-0.3175183711744502,
		0.40625158739394251,
		0.85682071152991279,
		0.0,
		0.44177985075426657,
		-0.73615029319258285,
		0.51275072822962653,
		0.0,
		1.075349911825306,
		0.86201671957262604,
		9.441486541912365,
		1.0
	],
	"intrinsic" :
	{
		"height" : 1012,
		"intrinsic_matrix" :
		[
			876.41770862985197,
			0.0,
			0.0,
			0.0,
			876.41770862985197,
			0.0,
			959.5,
			505.5,
			1.0
		],
		"width" : 1920
	},
	"version_major" : 1,
	"version_minor" : 0
}
Render
Now copy the extrinsic matrix (note in json it is stored in colume major) to a simplest configure file of Mitsuba, and you are almost ready to render.
<scene version="2.0.0">
<shape type="ply">
<string name="filename" value="/path/to/mesh.ply"/>
</shape>
<integrator type="path">
<integer name="max_depth" value="8"/>
</integrator>
<default name="spp" value="256"/>
<emitter id="light_0" type="constant">
<spectrum name="radiance" value="2.0"/>
</emitter>
<sensor type="perspective">
<transform name="to_world">
<scale x="-1"/>
<scale y="-1"/>
<matrix value=" 0.83905462 0.5413339 0.05426748 -1.88128183 -0.31751837 0.40625159 0.85682071 -8.09841352 0.44177985 -0.73615029 0.51275073 -4.68162316 0. 0. 0. 1. "/>
</transform>
<float name="fov" value="60"/>
<sampler type="independent">
<integer name="sample_count" value="$spp"/>
</sampler>
<film type="hdrfilm">
<integer name="width" value="512"/>
<integer name="height" value="512"/>
<rfilter type="box"/>
</film>
</sensor>
</scene>
In practice, first use a small number (like 16) for spp (samples per point), and a small resolution for the image (like 128 x 128), and see if the output looks reasonable. Try to adjust the perspective in the config or the extrinsics back in Open3D interactively, until a decent thumbnail is available. Then increase spp and resolution to render the final image:
Extension
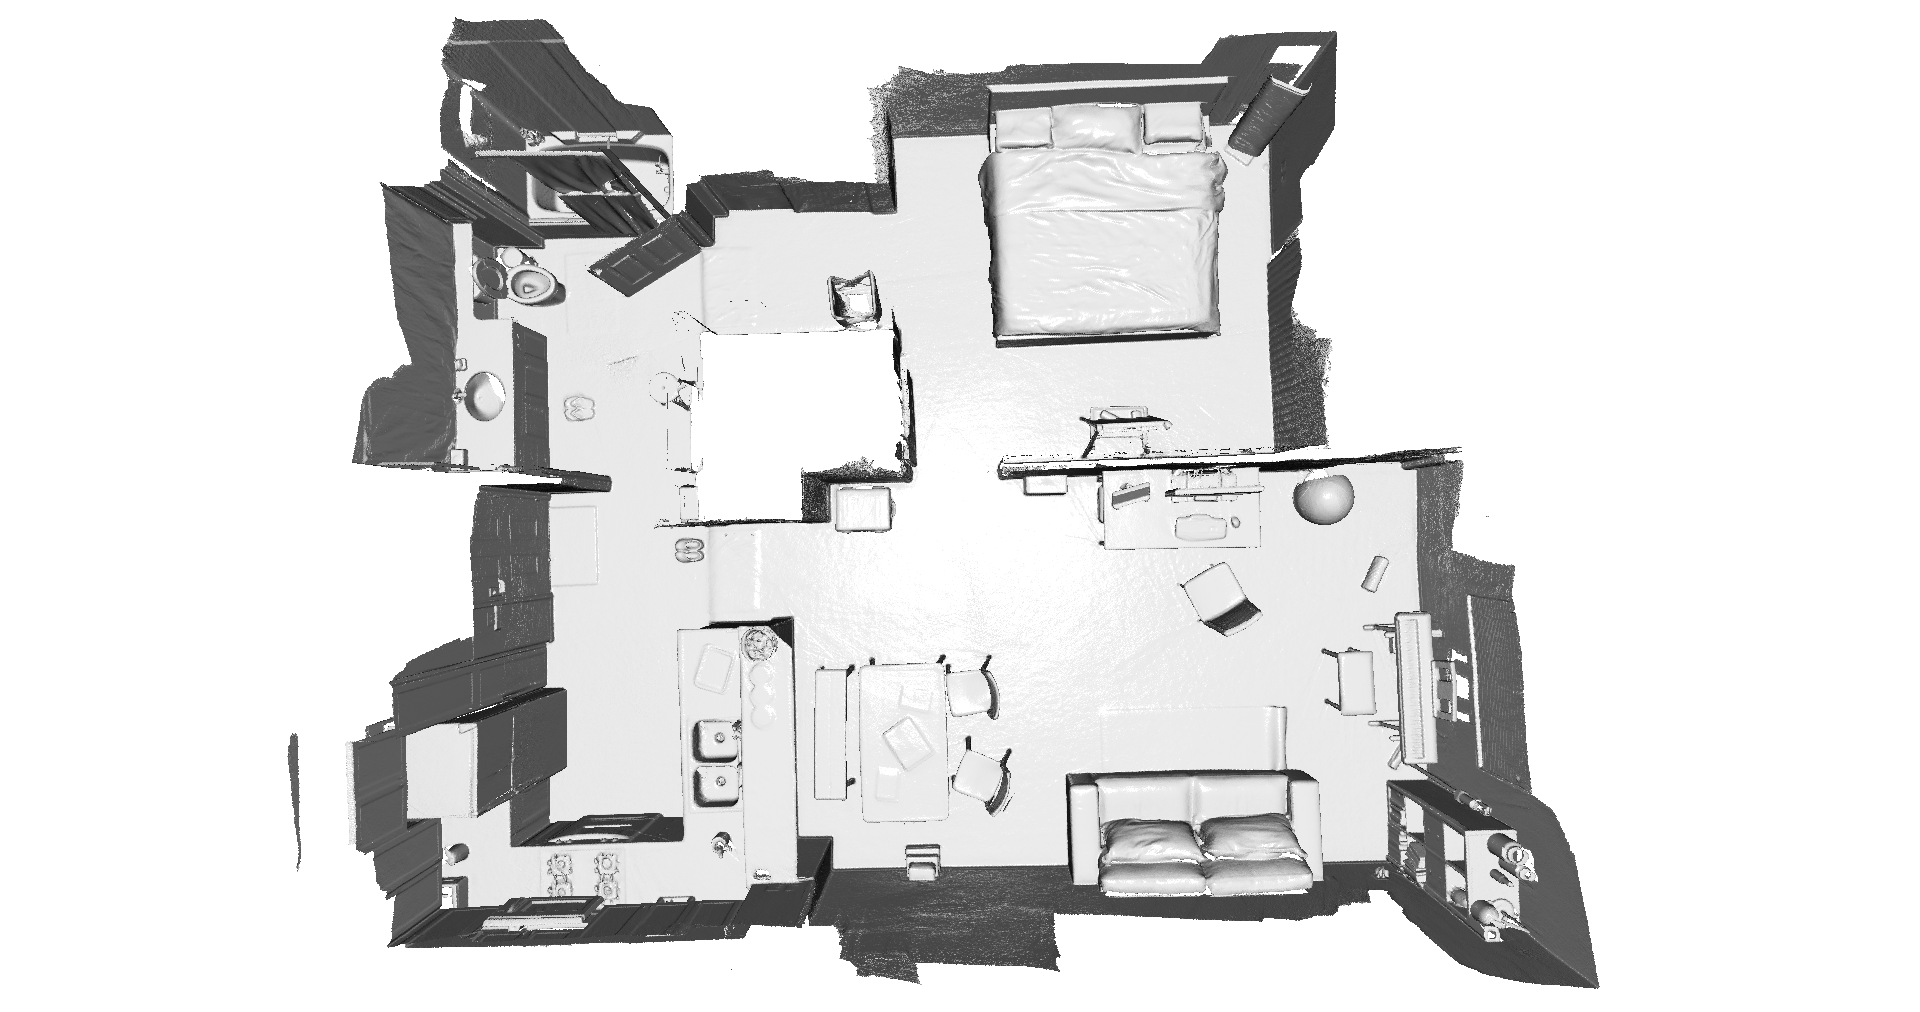
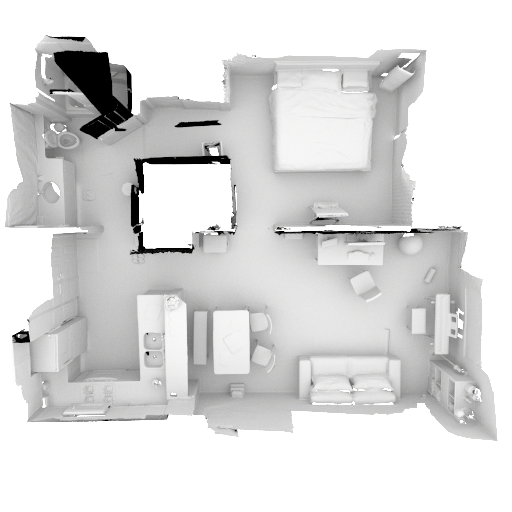
As of now (Octobor 2021) only perspective cameras are supported. If you want to play with fancy orthognal rendering, you may want to build contribution plugins. This will be helpful in larger room rendering, e.g.
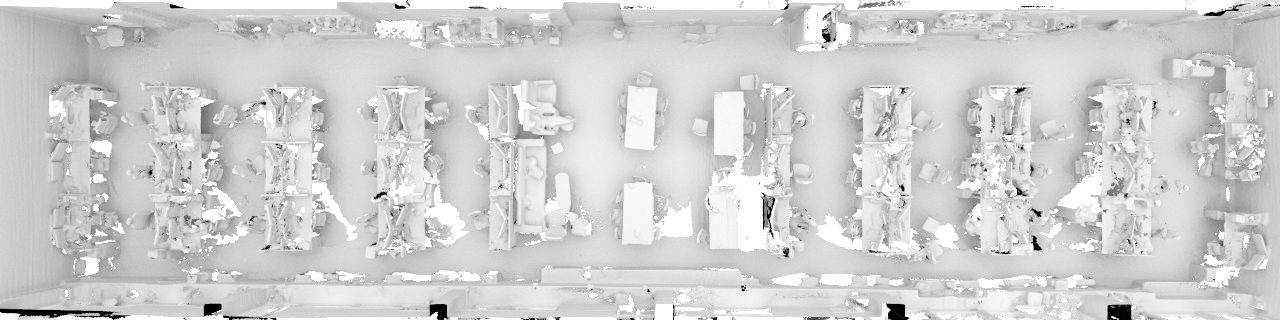
but the tuning of parameters is less intuitive and more depending on manual adjustment.